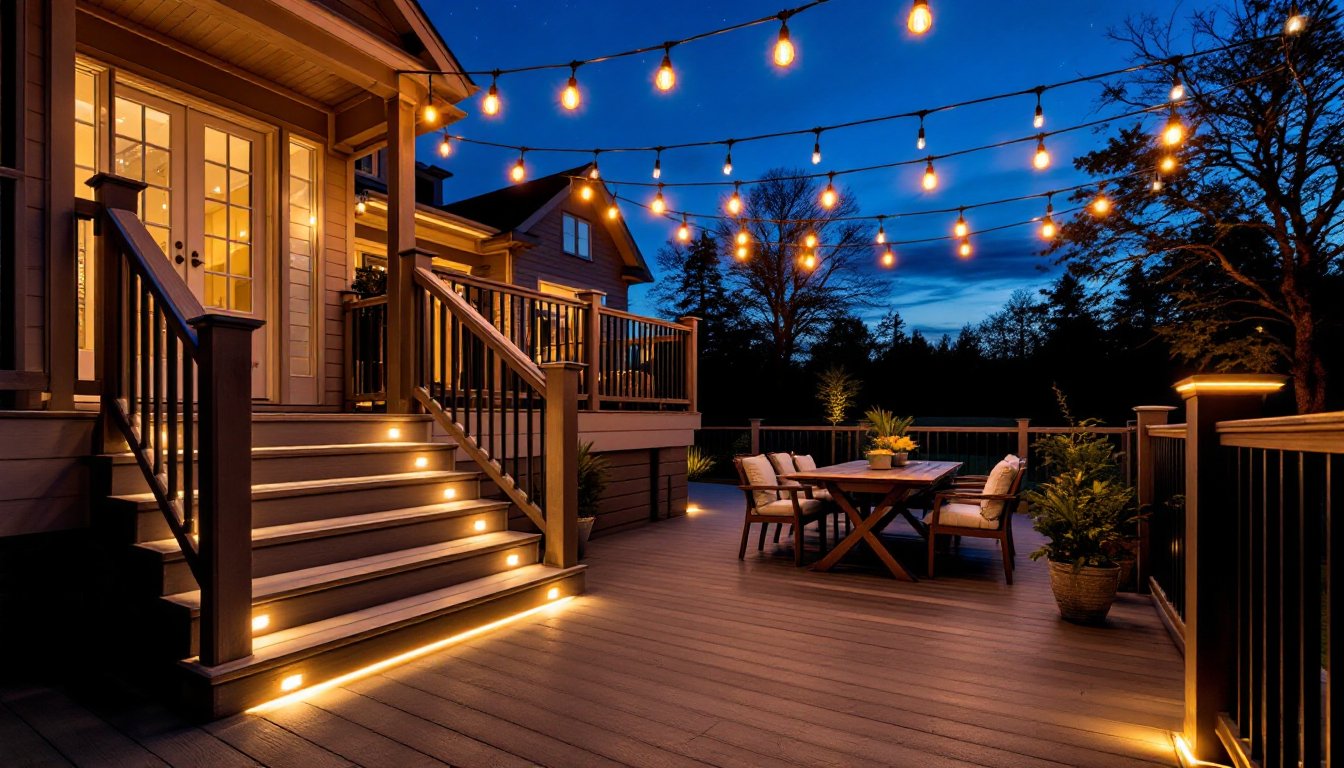
Running low-voltage wire to your pathway lights or uplighting isn’t like wiring a wall outlet. You’re working outdoors, often underground, and voltage drop, something that barely matters for a 15-amp circuit, can turn half your light fixtures into dim disappointments. Getting the wire right means understanding burial requirements, choosing the correct gauge for your run length, and knowing when to add a second home run instead of daisy-chaining another fixture. This guide covers everything from cable types and voltage calculations to burial depth and connector best practices, so your landscape lighting performs reliably season after season.
Table of Contents
ToggleKey Takeaways
- Landscape lighting wire must be direct burial, UV-rated cable (UL 493) sized correctly for run length and total wattage to prevent voltage drop and dim fixtures.
- Wire gauge selection is critical: use 12-gauge for runs over 75 feet, 14-gauge for 40–75 feet, and 16-gauge only for short runs under 40 feet with minimal load.
- Always test voltage at fixtures with a multimeter before backfilling trenches; aim for 10.8–12V on a 12V system to ensure consistent performance season after season.
- Bury direct burial cable at least 6 inches deep (8–12 inches in freeze-thaw climates) and use only waterproof, silicone-filled or heat-shrink connectors to prevent moisture corrosion.
- Split circuits into multiple home runs instead of daisy-chaining too many fixtures, as each added fixture increases voltage drop and dims lights farthest from the transformer.
- Perform annual voltage checks on landscape lighting wire and inspect connections for corrosion; proactively replace aging cable if fixtures dim or wire jackets show cracking.
What Is Landscape Lighting Wire and Why It Matters
Landscape lighting wire is typically stranded copper cable rated for low-voltage systems, most commonly 12V or 24V. Unlike household Romex, which runs at 120V and must be housed in conduit outdoors, low-voltage landscape wire carries minimal shock risk and can be direct-buried in many jurisdictions without conduit.
Most landscape lighting systems use two-conductor stranded wire, a black (hot) and a red (common) conductor encased in a UV-resistant PVC jacket. Stranded wire resists breakage from ground movement and freeze-thaw cycles better than solid-core wire. The jacket protects against moisture intrusion, sunlight degradation, and nicks from rocks or roots.
Why it matters: undersized or improperly rated wire leads to voltage drop, which dims fixtures farthest from the transformer. A 50-foot run of 16-gauge wire with ten 4-watt LED fixtures might seem fine on paper, but voltage sag at the end of the line can reduce brightness by 30% or more. Choosing the right wire gauge and burial-rated cable ensures consistent light output and long-term reliability.
Most landscape lighting runs low voltage, so a permit usually isn’t required, but always verify local codes. The transformer (which steps 120V down to 12V or 24V) does plug into a GFCI-protected outlet, and that portion must meet NEC requirements.
Types of Landscape Lighting Wire: Direct Burial vs. Standard Cable
Not all low-voltage wire is created equal. The two main categories are direct burial cable and standard low-voltage wire.
Direct burial cable is jacketed with thicker, UV-resistant PVC and rated for underground installation without conduit. Look for cable marked UL 493 or similar outdoor rating. It’s stiffer than indoor speaker wire and resists moisture infiltration, insect damage, and soil chemicals. Brands like Southwire and Cerrowire offer direct-burial landscape wire in 12, 14, and 16 gauge.
Standard low-voltage wire (often sold as speaker wire or doorbell wire) lacks the robust jacket needed for burial. It’s cheaper but degrades quickly when exposed to moisture and UV. Use it only for above-ground runs inside conduit or for testing layouts before final installation.
Some pros use multi-tap cable, a main trunk with pre-stripped connection points every few feet. It simplifies adding fixtures but can introduce voltage drop if taps aren’t staggered properly. Multi-tap works well for evenly spaced path lights but less so for custom layouts.
For permanent installs, stick with UL-rated direct burial cable. The upfront cost difference is minor, and it’ll outlast standard wire by a decade or more. If you’re planning a more complex landscape lighting system, invest in quality cable from the start.
Choosing the Right Wire Gauge for Your Landscape Lighting System
Wire gauge determines how much current the cable can carry without excessive voltage drop. For low-voltage landscape lighting, 12-gauge, 14-gauge, and 16-gauge are the most common options. Lower numbers mean thicker wire and less resistance.
12-gauge is the workhorse for runs over 75 feet or circuits with total wattage above 150W. It’s stiffer and more expensive but keeps voltage drop under 3% even on long runs.
14-gauge works well for mid-length runs (40–75 feet) with moderate loads (80–150W total). It’s a good balance of cost and performance for most residential installs.
16-gauge is acceptable only for short runs (under 40 feet) and low loads (fewer than 80W total). It’s common in starter kits but undersized for anything beyond a handful of path lights.
As a rule of thumb, aim to keep voltage drop below 2–3% of your system voltage. For a 12V system, that’s about 0.24–0.36V. Voltage drop calculators (available from fixture manufacturers and online tools at Bob Vila) let you plug in wire gauge, run length, and total wattage to estimate loss.
How to Calculate Voltage Drop and Wire Length
Voltage drop follows a simple formula:
Voltage Drop = (2 × L × R × I) / 1000
Where:
- L = one-way cable length in feet
- R = resistance per 1,000 feet (varies by gauge: 12 AWG ≈ 1.6Ω, 14 AWG ≈ 2.5Ω, 16 AWG ≈ 4.0Ω)
- I = current in amps (Watts ÷ Voltage)
Example: A 60-foot run of 14-gauge wire carrying 48W at 12V.
- Current: 48W ÷ 12V = 4 amps
- Voltage drop: (2 × 60 × 2.5 × 4) ÷ 1000 = 1.2V
- Percentage: 1.2V ÷ 12V = 10% (too high, upgrade to 12-gauge)
For runs exceeding your gauge’s capacity, consider splitting the circuit into two home runs from the transformer, each serving half the fixtures. This reduces total load per wire and shortens effective run length.
Step-by-Step Installation Guide for Landscape Lighting Wire
Tools and materials:
- Direct burial landscape wire (appropriate gauge)
- Wire strippers
- Waterproof wire connectors (silicone-filled or heat-shrink with adhesive)
- Flat-blade shovel or garden edger
- Multimeter
- Safety glasses and work gloves
Steps:
-
Lay out fixtures and measure runs. Stake fixture locations and run a tape measure from the transformer to each fixture. Map out whether you’ll use a T-method (one home run with branches) or hub method (individual home runs). Add 10% extra length for slack and burial curves.
-
Dig trenches. Most codes and manufacturers recommend 6 inches minimum depth for direct burial cable. In regions with frost heave or heavy foot traffic, go 8–12 inches. Use a flat-blade shovel or a garden edger to cut a narrow trench. If crossing driveways or high-traffic zones, run wire through Schedule 40 PVC conduit rated for burial.
-
Run the wire. Uncoil cable carefully to avoid kinks. Lay it in the trench without stretching tight, leave a small belly every 10 feet to accommodate ground movement. Avoid sharp bends (minimum 3-inch radius).
-
Make connections. Strip about 1/2 inch of insulation from each wire end. Use waterproof connectors, silicone-filled wire nuts or heat-shrink connectors with adhesive lining. Twist conductors clockwise, slide on the connector, and crimp or heat as required. Never use standard wire nuts or electrical tape outdoors: moisture will corrode connections within a season. Professional contractors often recommend connectors from trusted suppliers at Angi for reliability.
-
Test before burial. Connect the wire to the transformer (with power off). Turn on the transformer and check voltage at each fixture with a multimeter. You should see 10.8–12V at fixtures on a 12V system. If voltage is below 10.5V, upgrade wire gauge or split the circuit.
-
Backfill and compact. Once voltage checks out, backfill trenches carefully. Tamp soil gently to avoid shifting wire. Mark wire routes on a site diagram, you’ll thank yourself when digging for future projects.
Common Mistakes to Avoid When Wiring Outdoor Lights
Using undersized wire. It’s the #1 cause of dim, flickering fixtures. Don’t trust the wire included in cheap kits, it’s often 18-gauge, suitable for only the shortest runs. Size wire based on actual total wattage and run length, not the number of fixtures.
Skipping waterproof connectors. Standard wire nuts aren’t rated for moisture. Water seeps in, copper corrodes, and connections fail. Use only silicone-filled or heat-shrink connectors with adhesive.
Burying wire too shallow. Six inches is the minimum in most areas. Shallow burial risks nicks from aerators, shovels, or post-hole diggers. In freeze-thaw climates, heaving can push shallow wire to the surface.
Daisy-chaining too many fixtures. Each added fixture increases total load and extends wire length, compounding voltage drop. For runs with more than six fixtures, consider a second home run or a T-method with balanced branches.
Ignoring polarity. While low-voltage LEDs are often polarity-insensitive, some fixtures (especially older halogens) require correct hot and common. Use consistent color coding: black = hot, red = common.
Not testing voltage before backfilling. Once the trench is filled, diagnosing a bad connection or voltage sag means re-digging. Always test with a multimeter before covering wire.
Mixing wire gauges on one circuit. If you run 12-gauge for 50 feet then splice in 16-gauge for the last 20 feet, the thin section becomes a bottleneck. Stick to one gauge per home run.
Maintenance and Troubleshooting Tips for Long-Lasting Performance
Annual voltage check: Once a year (ideally spring), test voltage at the farthest fixture on each run. Voltage creep or sag indicates a failing transformer, corroded connection, or a new load elsewhere on the circuit.
Inspect connections: Pull up a few fixtures and check wire nuts or splices for corrosion or moisture intrusion. Replace any suspect connectors immediately. If fixtures are showing inconsistent performance, resources like cost guides at HomeAdvisor can help estimate repair expenses.
Clean fixture lenses and stakes: Dirt, mud, and leaf debris reduce light output and trap moisture. Wipe lenses with a damp cloth and check that fixtures drain properly.
Watch for ground movement: Freeze-thaw, settling, or landscaping work can shift or sever wire. If a section of lights goes dark suddenly, dig carefully along the wire path and look for breaks or exposed copper.
Replace aging wire proactively: Direct burial cable rated for 20+ years can degrade faster in acidic soil or areas with heavy salting. If fixtures are dimming even though good voltage at the transformer, the wire jacket may be compromised. Pull a small section and inspect for cracking or discoloration.
Upgrade older systems: If you’re still running halogen fixtures on 16-gauge wire, converting to LED and upsizing to 12-gauge can extend usable run length and slash energy costs by 75%.
Keep a wiring diagram: Sketch or photograph wire routes and splice locations. Mark depth and any conduit crossings. Future you, or a landscape crew, will appreciate it. Whether you’re maintaining a simple setup or exploring advanced outdoor lighting options, documentation saves hours of troubleshooting.